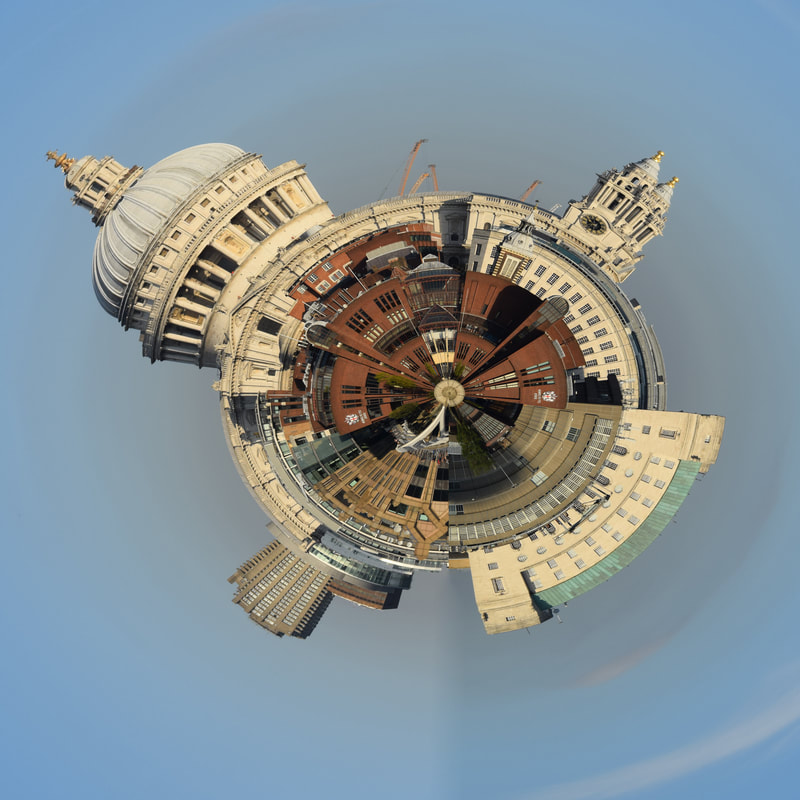
Paul Reiffer worked on a project called 'Tiny planets' where he took landscape photographs of buildings in different cities such as London, Shanghai and more, he edited the images so that it looked like a small planet. I've always been intrigued by this type of photograph and I was able to achieve the same type of effect as Paul Reiffer using Photoshop. Some of these edits are better than other such as the first one, which is my favourite edit, compared to the second image on the second row; which was my first attempt, although it wasn't completely successful, I still liked the look of the half planet so I decided to add it onto my website.
I went to various locations in order to get the images to edit, I went to Hyde Park, South Bank, Greenwich park and more to get my landscape images. I think this shoot was very successful due to the face that it looks like how I wanted it to (circular with an empty middle) and looking at each one individually, they give off different vibes such as the second image on the first row, it has a creepy feeling towards it due to the surrounding trees and its branches. Whereas the third and fourth image has a more fun feeling because of the neon lights.
I went to various locations in order to get the images to edit, I went to Hyde Park, South Bank, Greenwich park and more to get my landscape images. I think this shoot was very successful due to the face that it looks like how I wanted it to (circular with an empty middle) and looking at each one individually, they give off different vibes such as the second image on the first row, it has a creepy feeling towards it due to the surrounding trees and its branches. Whereas the third and fourth image has a more fun feeling because of the neon lights.


|
In order to get the image on the left, I had to edit it on Photoshop. When choosing what image I want to use, I have to make sure that the photograph is quite symmetrical on the bottom so that when I turn it into a planet the end will meet. The first thing I did was flip the image vertically and then go to filter, distort, and then to polar coordinates, ensuring that the rectangular to polar option is selected, this morphs the image into a circle as shown on the last image above. The last step is to edit the lines that the former edges gave since the photograph is not completely the same on both sides, to do this, I used the patch tool and traced around the harsh edges and selected another part of the blue sky to copy.
|


